Showing posts with label BatRep. Show all posts

Tuesday, June 6, 2023

98. Space Station Zero

Having seen a play-through on the Lead Adventure Forum about this new game called Space Station Zero, I had to check it out.  It's blend of horror, sci-fi and campaign play really caught my fancy so I purchased it in print.  The original post of the write-up also had pictures of their BattleSystems cardboard terrain, and that seemed to fit the bill just right.  That got purchased eventually, too.

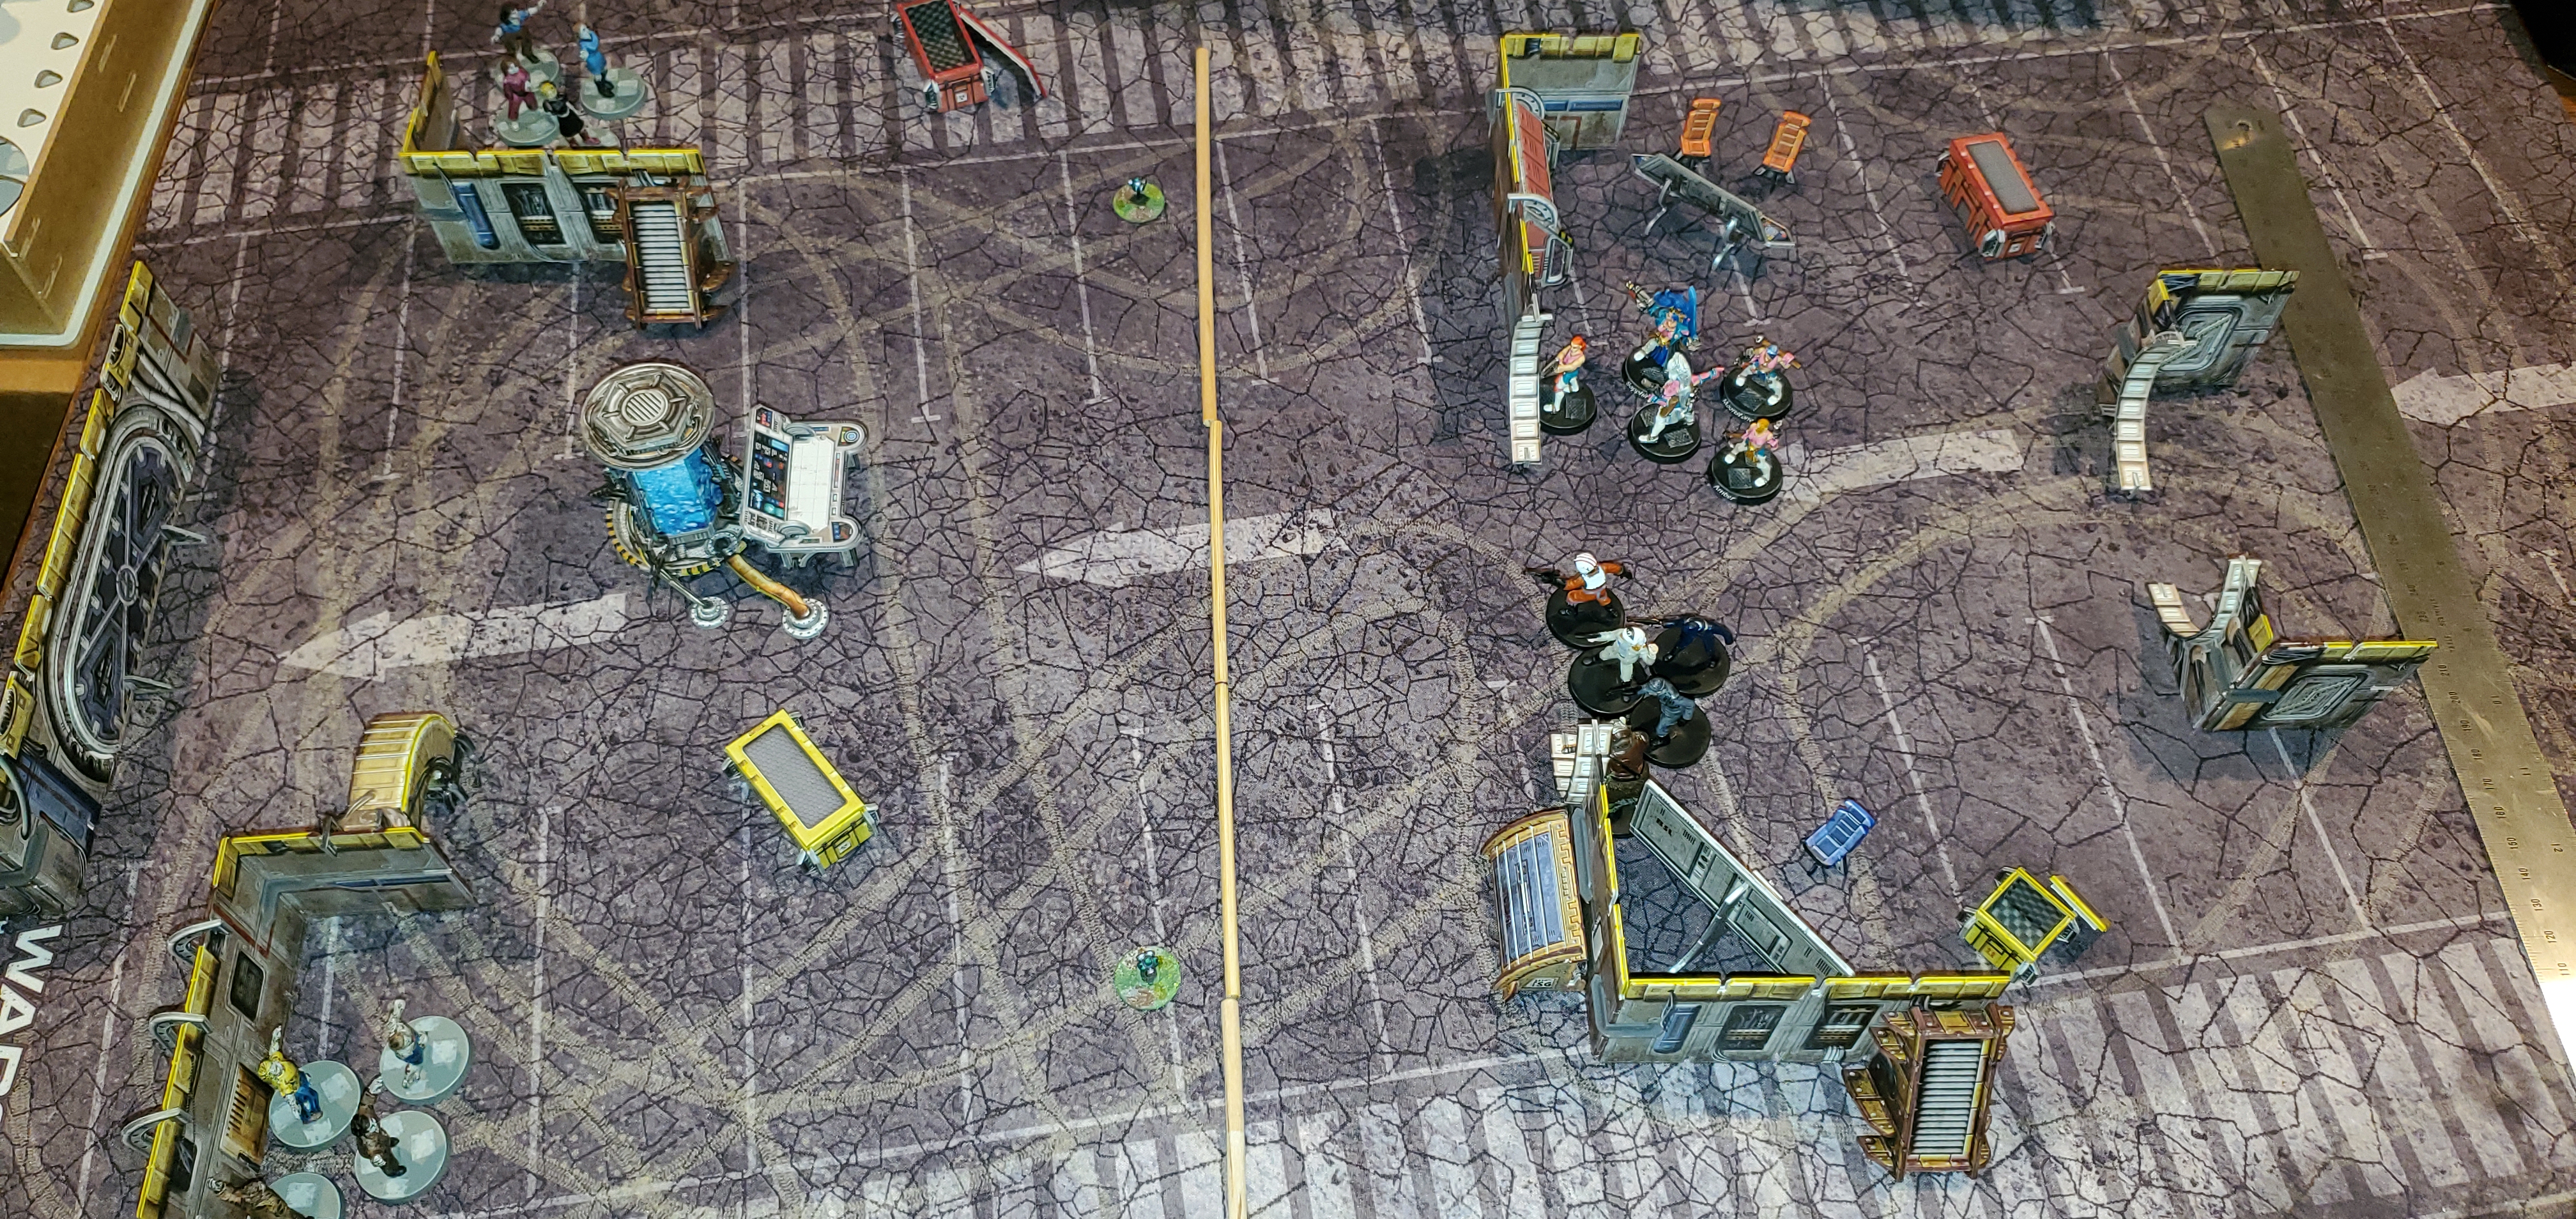
I didn't really have dedicated miniatures that I wanted to use for it, and I really wanted to play it in 28mm scale, so my son used some old Star Wars pre-paints, and I dug out my Necromunda Escher gang, while I ordered and then painted some Stargrave miniatures.  You can see those closer to the bottom of this post.

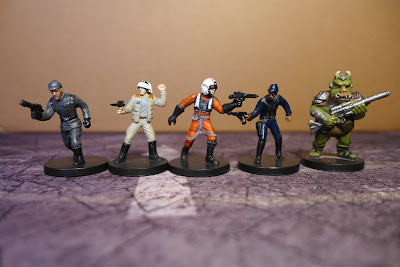
One of the things about the game that I found difficult was being able to tell which miniature represented which character, since for me the miniatures were obviously not originally those characters, so I took a photo to help remind me.  In the game, different characters have different skills, so it's important to be able to know who is who.  My son, who has a much younger brain, had no problem with this.

Be warned, there are LOTS of SPOILERS below.  Stop now if you don't want the game Challenges spoiled.
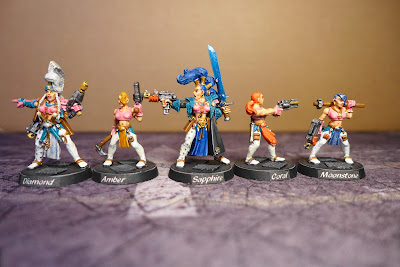


I chose to run an Exploration crew of 5, with a Commander, Medical Officer, Soldier, Chief Engineer and an Ace Pilot.  (See the photo above for who is who.)

My son ran a Pirate crew of 5, with a Commander, Soldier, Engineer, Ace Pilot and Medical Officer.  (I think, L to R:  Commander, Engineer, Pilot, Medic, Soldier.)

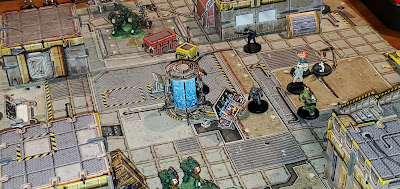
Our first game began with Challenge 1, "Docking Bay Access Port," with Poison Gas and Ancient Sentries.  It's a good introduction scenario for learning the rules.
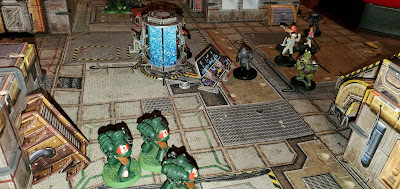
I used Space Marines to represent the Ancient Sentries.

I took these photos very quickly with my phone, so they are what they are.

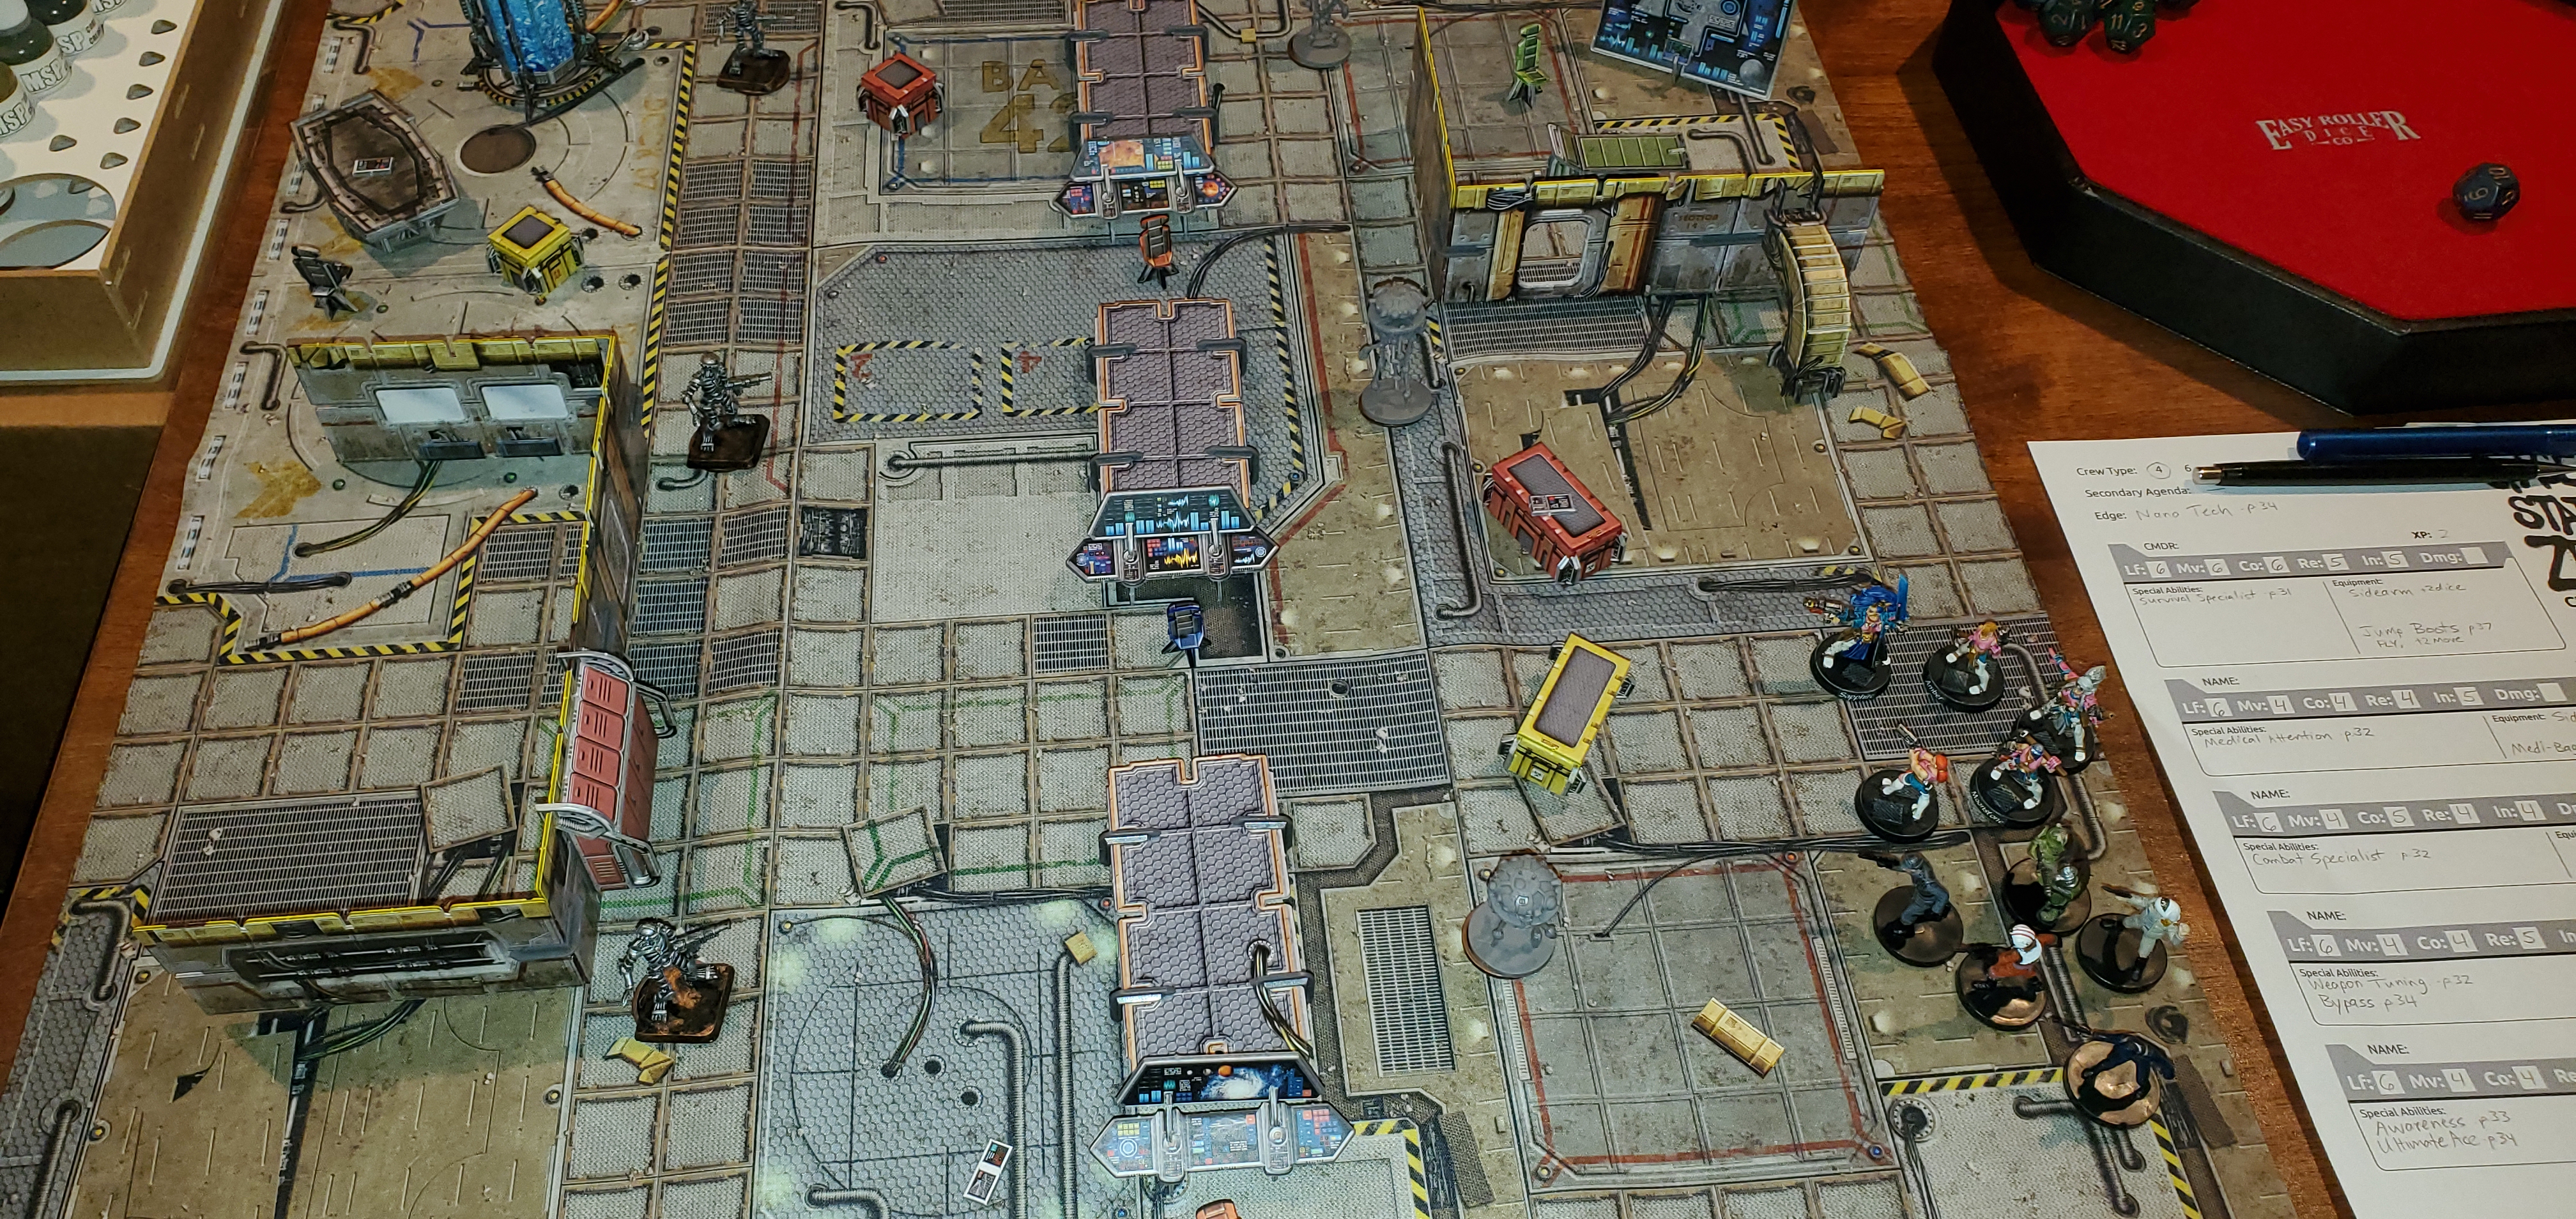
We survived Challenge 1, and a random roll led us to Challenge 5, "The Medical Bay," where we had to overcome Medical Drones and Control Pods.
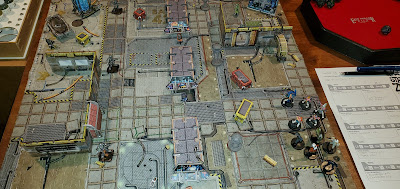
I ended up mixing Nightmares from Legions of Steel and Imperial Probe Droids to be the Medical Drones.  I only had 3 Probe Droids, so I had to use the Nightmares to supplement.


We were once again successful in surviving the Challenge, which then led us to Challenge 2, "The Darkened Hall."  There were Laser Traps and more Drone Sentries.


That Challenge ended up being fairly easy, so we moved on to Challenge 6, "Pod 6."  This Challenge had a Virus Bomb, Deranged Mutants and Gun Turrets.
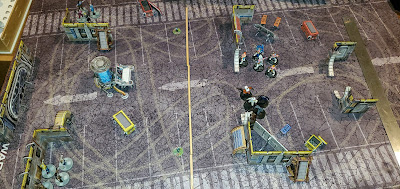
I got to use some zombie figures for the Deranged Mutants.


We only just managed to survive that one, and moved on to Challenge 7, "Science Lab."  This had Experimental Mutants and a Black Hole.  By this time, I had finally finished painting the Stargrave miniatures for myself and my son.  Here they are:
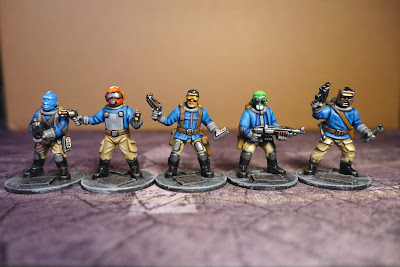
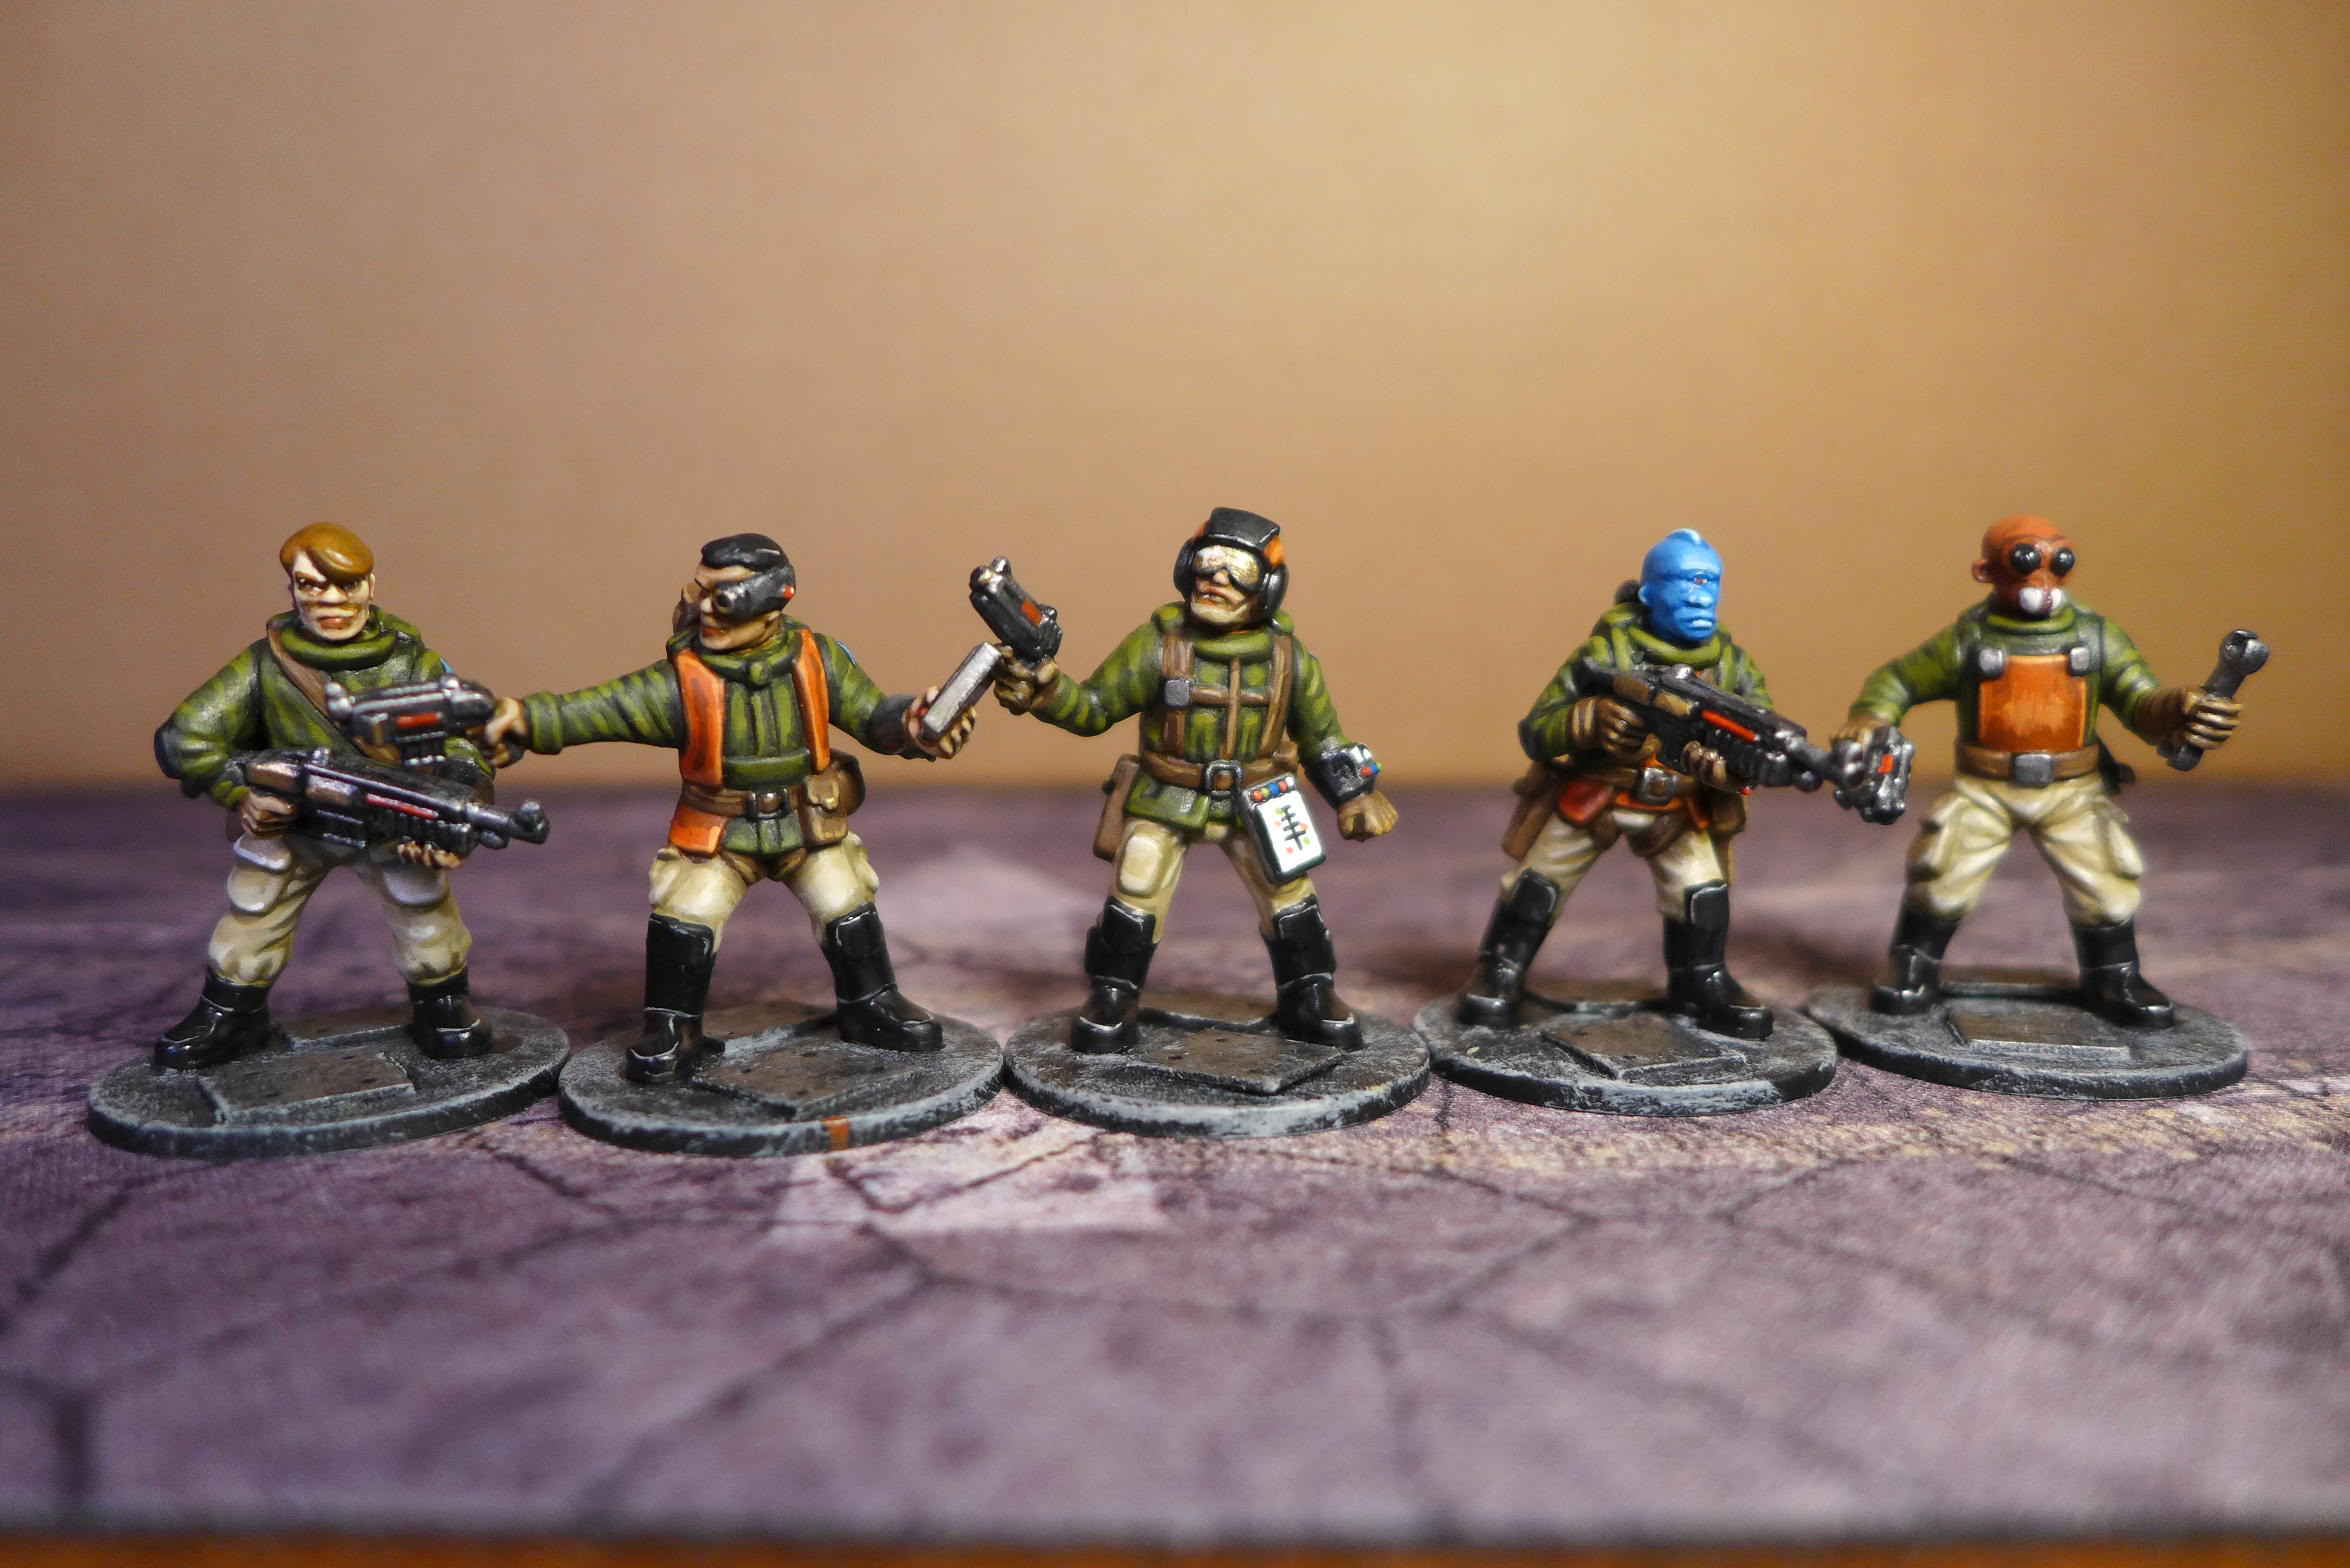
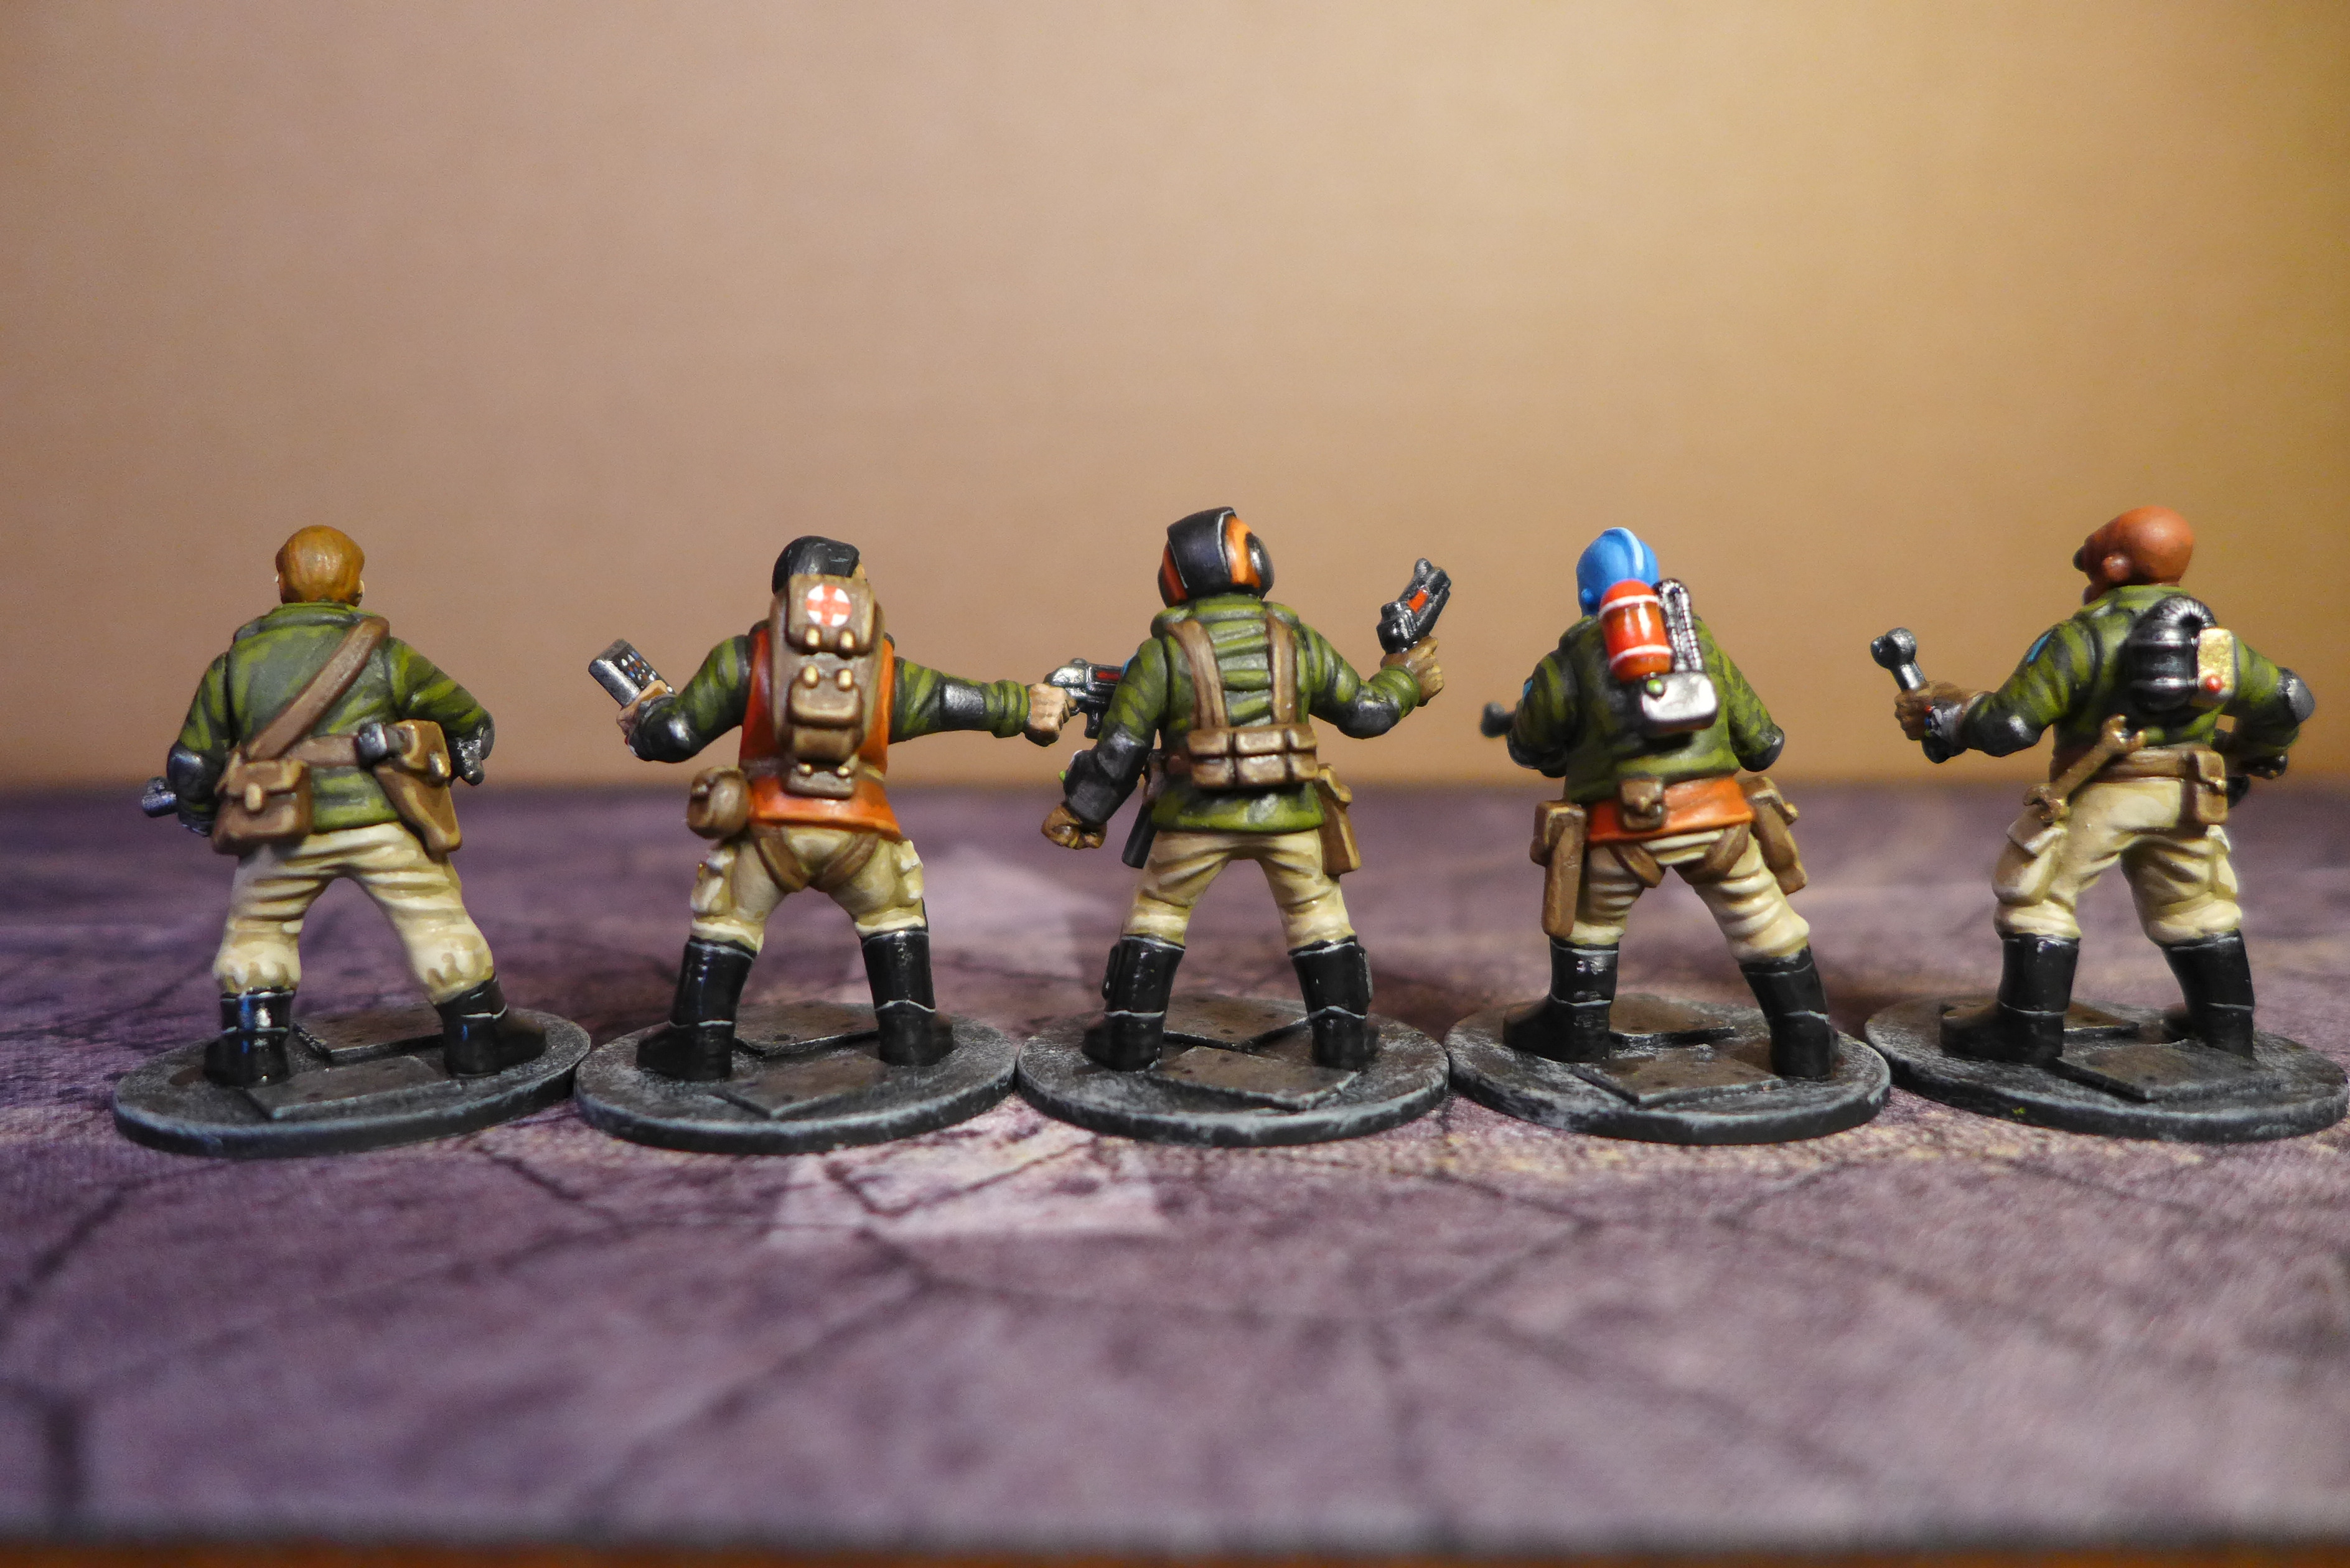
Meet my Commander, Medical Officer, Ace Pilot, Soldier and Chief Engineer.  Going along with my not being able to tell who was who, I tried to differentiate these, by painting my Medic with a red helmet/white cross, the Pilot has cool sunshades 'cause pilots are cool, the Engineer has a wrench to fix things, etc.


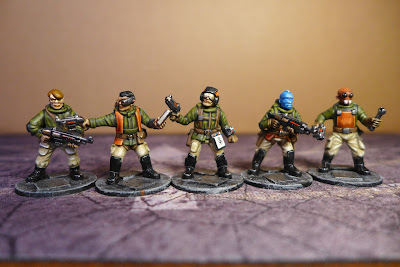
These are (L to R) my son's Commander, Medical Officer, Ace Pilot, Soldier and Engineer.  I tried to paint them so it would be easy to tell who was who, but went mostly by what he told me he wanted them to look like.  I did talk him into letting me paint them with green jackets, in order to make them easier to distinguish from my blue jacketed figures when on the table. 


One thing he wanted was a "shoulder patch," identifying them as belonging to the same organization.  He gave me a basic design and that he wanted it an "aqua" color, and so I did the best I could.

These were recently shown in my previous blog entry about Blasters & Bulkheads, but here they are in greater detail.
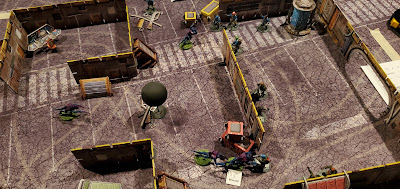
I used some old Hormagaunts as the Experimental Mutants in Challenge 7, and a black hole as the Black Hole.

We continued to enjoy our good luck, and moved on to Challenge 9, "Chemical Lab."  This had Freezing Protocols, Anti-Fire Protocols, and a Chemical Reaction that, if not stopped, would kill all crew members in play!
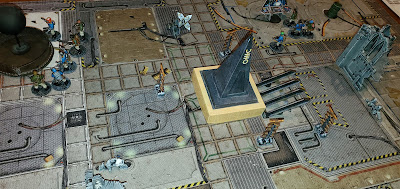
We managed to strategize this one before starting, and gamed it pretty easily.  It helped that there were no monsters to deal with, more just a time-limit aspect.

Next we moved on to Challenge 11, which is where we left off.  Other interesting games have reared their beautiful/ugly heads, diverting my limited time and attention away from SSZ (or is it SS0?).  We'll get back to it eventually.

Never fear, the Stargrave miniatures have gotten a lot of use in those other games.  I really like the figures, and the box has 10 more waiting to be put together.  We never named our characters, partly out of laziness, but also because we were both afraid of the dying in the depths of Space Station Zero.  Maybe it's time to give the names.

Thanks for reading!

Tuesday, May 16, 2023

97. Blasters & Bulkheads, non-Jedi edition

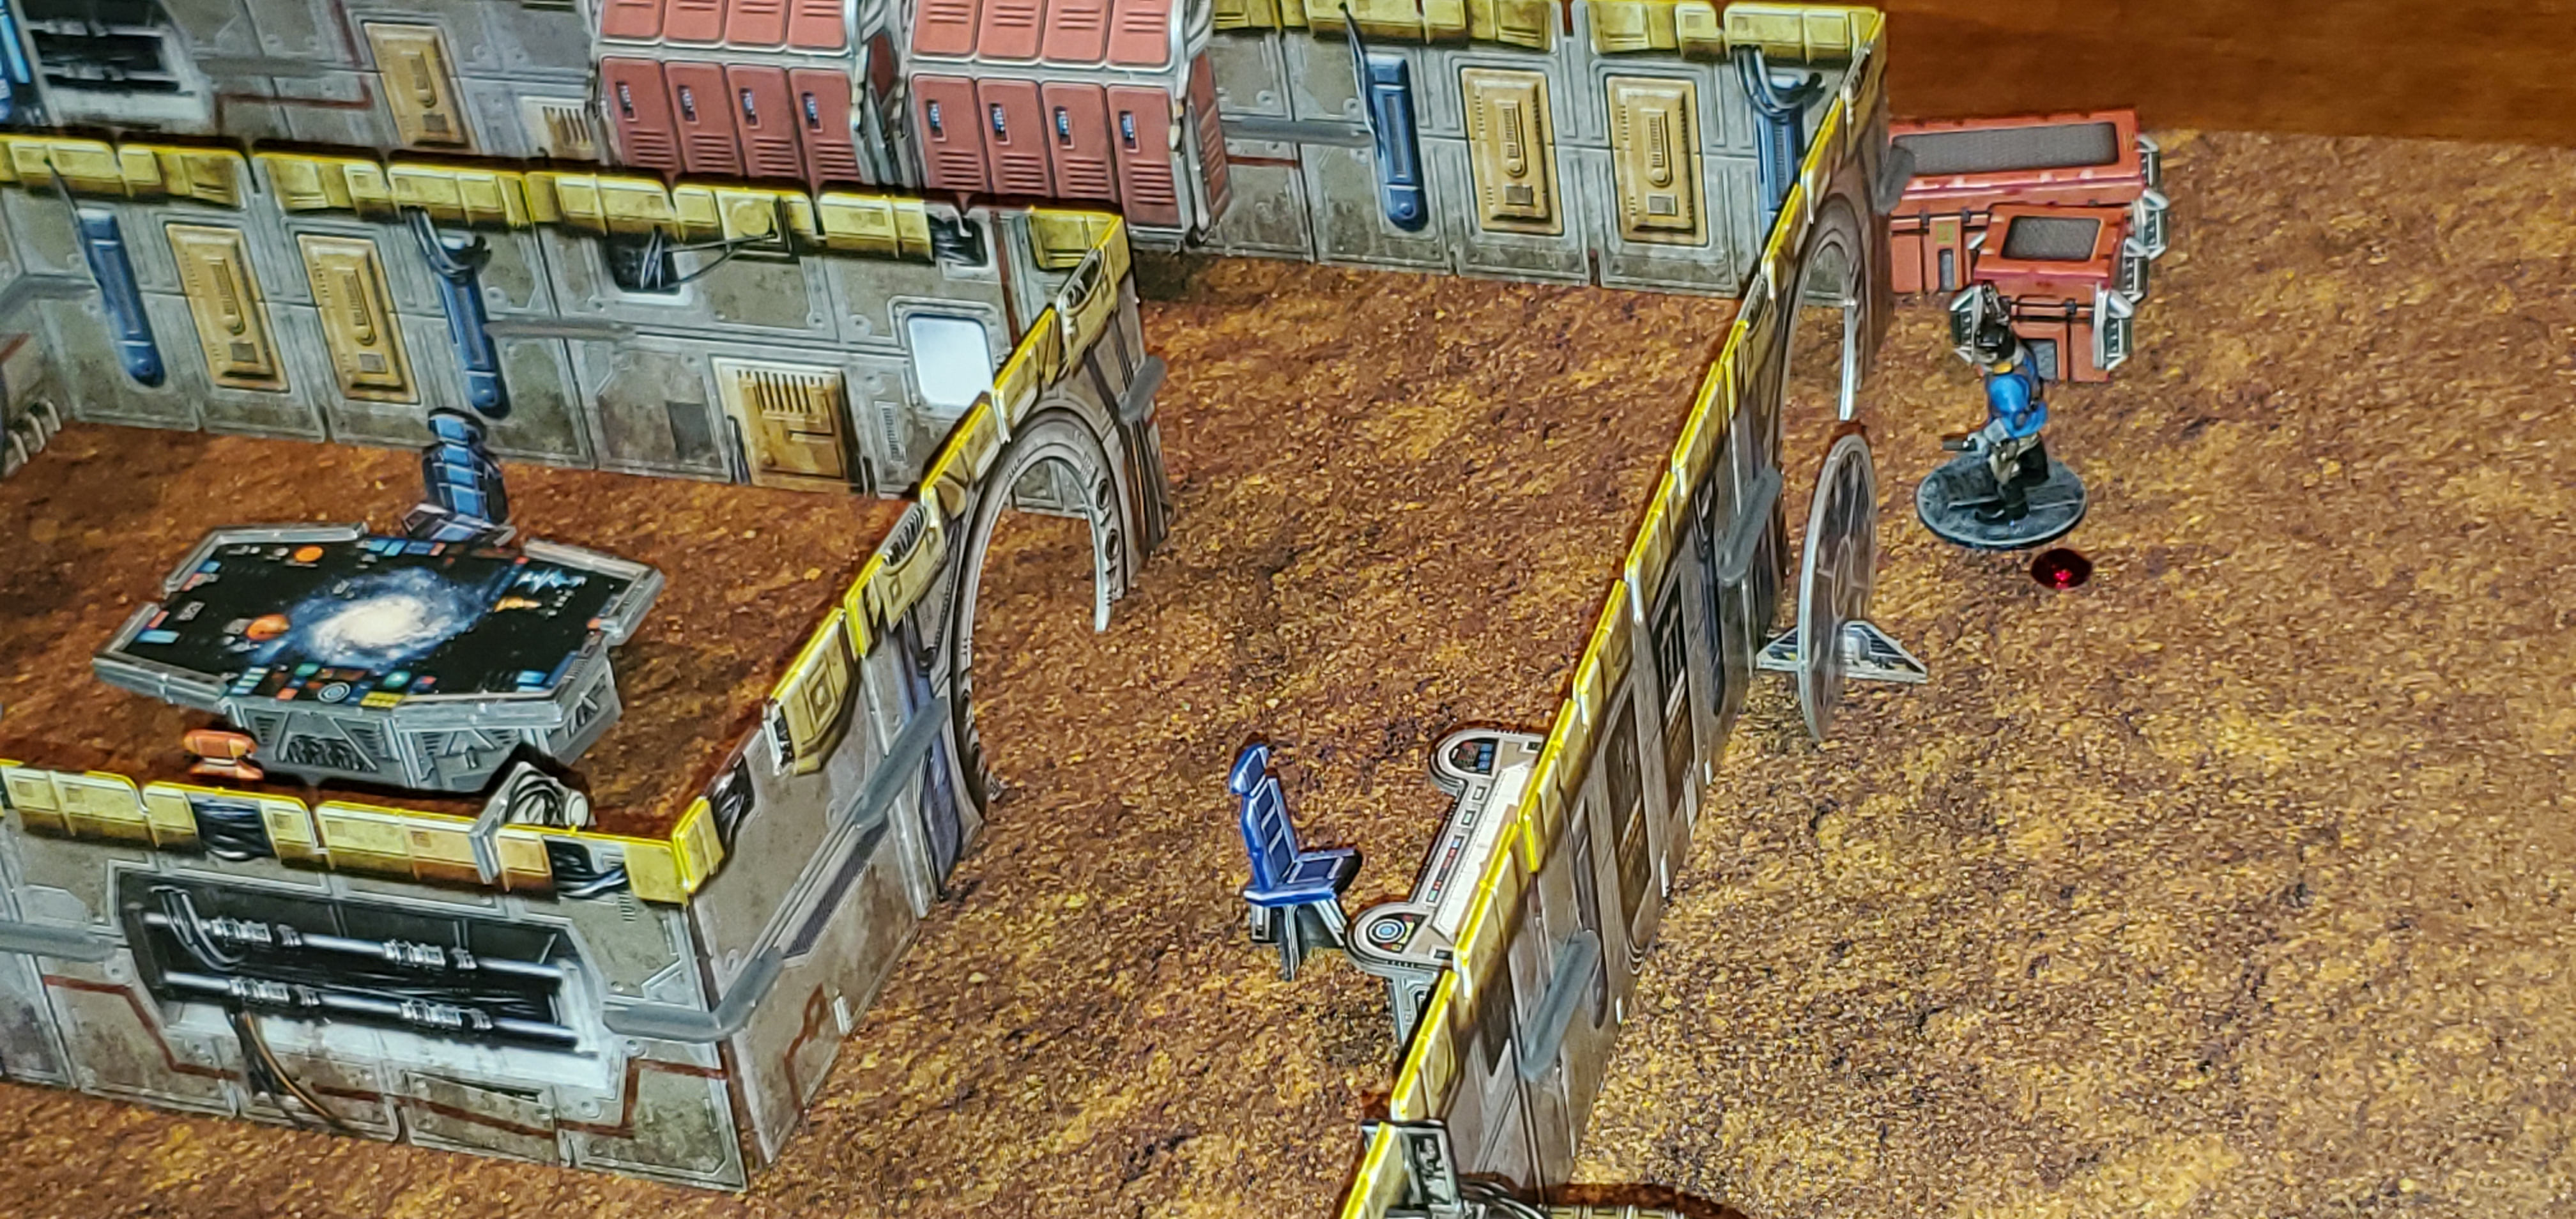
I've been playing around with Battlesystems' cardstock terrain recently, originally to play Space Station Zero.  In fact, I should probably make a blog post about SSZ before this one, but too late now.  In order to play SSZ, my son and I had been using any old figures I had (some Star Wars pre-paints, some Necromunda), but I wanted something specific so I bought some Stargrave miniatures and painted them up for us to play with.  Which we did for a while, using Battlesystems' terrain.  (Come to think of it, I don't think I've shown the Stargrave miniatures I painted up.  They're pretty cool, I'll have to post them soon.)

Then I came home from work one day to find my son had set up the arrangement below, to play out one of his "stories."


I asked him about it and he told me what was happening.  I thought it sounded pretty cool, so I set it up again on the full table and tried playing it solo with a few different rules sets before finally deciding that Blasters & Bulkheads best captured the feel and pacing I was looking for.  (I also wanted to make sure it was a playable scenario before playing it with my son so as not to waste our time or get him frustrated.)

Here's how it went down:  (if you click on the pictures, they will magically enlarge.)

Here's the layout:  two 5-man squads (identical to each other because I'm lazy) enter the table at the bottom of the frame.  Their goal:  reach the inside of the building to activate the base defense weaponry that will eradicate the alien infestation.  The Aliens are coming from the craters, which must be wormlike holes leading underground somewhere.


At the end of the first turn, a few Aliens have been wounded by long-range shooting.

Dramatic Close-up #1.

Dramatic Close-up #2.

The state of battle at the end of Turn 2.  The little red bead markers are simply to identify which model has already activated.  With so many on the table, and sometimes hours between turns, it's easy to forget who went and who didn't!

Dramatic Close-up #3.  The "Out of the Fight" marker is actually a K.O. marker.  Crucially, the Aliens have made it into close combat, where they excel, especially the four-armed monsters.

Dramatic Close-up #4.

Turn 3 ends.  One more soldier is K.O.ed, with more tied up in melee.  Several Aliens have been dispatched!  Little by little, the firepower is winning out.

Dramatic Close-up #5.

Dramatic Close-up #6.

End of Turn 4.  Another soldier goes K.O., but one is making his way to the building, finally (upper right in the image).

Dramatic close-up #7!  The two new Aliens have ranged weapons.  Uh oh!

End of Turn 5.  Another man is down, but one is back up after a successful medi-kit usage (might not be exactly per the rules, but it felt right).

Dramatic close-up #8.

The soldier desperately activated the door to rush inside.

End of Turn 6.  Another man is back up, thanks to the last medi-kit, and a second is K.O.ed but he passes his K.O. check and therefore remained standing (wobbly, no doubt) [he's the one at the bottom of the image] and only one Alien remains...

...who is promptly "taken care of" when the lone soldier punches the defense weaponry button.  Yay!  "A day late and a dollar short," but better late than never.

The final tally:  2 K.O.ed, 3 more K.O.ed but either healed or passed their K.O. check.  5 of 10 potentially dead.  I'd say that was about the right balance.

If anyone is interested, I can post the stats of the soldiers and the Aliens that I used from Blasters & Bulkheads.  I sort of winged it, though, and they all could probably use some tweaking.

Anyway, thanks for reading!

Tuesday, March 14, 2023

95. A Foreign (Legion) Affair - Part 2

In my previous post, I detailed the battle of the French Foreign Legion defending a desert oasis from attacking Arabs, using Feudal Patrol adapted for modern weapons.  In this post, I will report on the same scenario only with the combatants reversed:  the Arabs are defending against the attacking Legion.  This is the exact same 4'x4' table, terrain, and miniatures.

The pictures that follow show the flow of the game.

A short summary will appear at the end.

Turn 1 begins by showing the disposition of the forces, the Arabs occupying the village at the top, and the Legion lined up close together at the bottom.  It thought a concerted attack would be better than splitting my forces.  We'll see if I was right.

This is a closer view of the arrangement of the Arabs.  I put them where it seemed to make sense, but there were so many of them it necessitated spreading them out.

The Legion sprints to try to get to cover, knowing a good firing position is critical, plus knowing the Arabs have rifles too.


The Arabs, never ones for caution, begin trying to flank the Legion on either side.  The Legion commander orders a squad to form on the right to meet them while the rest continue into cover.

The Legion squad on the right were unable to make it to the shelter of the rocks and were caught in the open, and took heavy fighting.  The center squad, seeing themselves likely to be flanked, drew back from the big rock to (hopefully) support the right squad.  The squad on the left took hits from gunfire from the village.

The Legion squad on the right was able to rally enough to defend themselves, even though the spear-armed Arabs closed into close combat.  The bayonet-tipped rifles were just as deadly as the spears, but the shelter of the rocks and their iron discipline staved off the worst results.  The commander, armed only with a pistol, wisely kept out of melee as much as possible.  The center squad lended it's shooting when able.

After heavy fighting, amazingly the righthand Legion squad emerged victorious over the spear-armed Arabs.

I don't remember why I took this picture, other than I had received the same result in the previous game:  a headshot somewhere.  Maybe the photo above?

This picture records the last existence of the Legionnaire squad on the left, on the sand dune.  Immediately after this, they were wiped out almost to a man.  (see next pic)


The sole survivor of the left-hand squad hides in the rocks, while the commander rejoins his squad.

The Arabs, with both of their rifle-armed groups, were still entrenched in the village.

With 11 of 18 men remaining, the Legionnaire commander wisely decided discretion was the better part of staying alive, and withdrew the assault.  The oasis would have to wait for another day.

"Never bring a spear to a gun fight" should be the maxim of the day.  Despite outnumbering the Legionnaires, the Arabs were unable to really do damage, mostly due to the Legion's discipline and positioning.  With bayonets and in protective terrain, the Legion easily matched the more numerous spearmen.  However, when guns were involved, even with the Arabs "worse" shooting-rating, they were able to seal the deal and drive off the attackers.

The battle went much as "reality" would expect it to:  guns are deadly, that's why everybody wants them.  A small force attempting to oust a larger one is always difficult.  Perhaps if the Arabs did not have guns, the outcome would have been different.

Hmmm, sounds like I might need a rematch against myself.

I still really enjoy Feudal Patrol, and especially like this blended style.  You can read about my first usage of Feudal Patrol here.

Thanks for reading!