Showing posts with label Four-Color Studios. Show all posts

Tuesday, May 16, 2023

97. Blasters & Bulkheads, non-Jedi edition

I've been playing around with Battlesystems' cardstock terrain recently, originally to play Space Station Zero.  In fact, I should probably make a blog post about SSZ before this one, but too late now.  In order to play SSZ, my son and I had been using any old figures I had (some Star Wars pre-paints, some Necromunda), but I wanted something specific so I bought some Stargrave miniatures and painted them up for us to play with.  Which we did for a while, using Battlesystems' terrain.  (Come to think of it, I don't think I've shown the Stargrave miniatures I painted up.  They're pretty cool, I'll have to post them soon.)

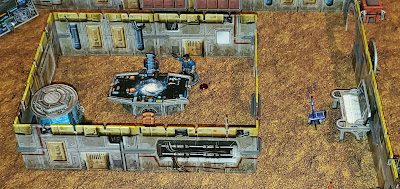
Then I came home from work one day to find my son had set up the arrangement below, to play out one of his "stories."


I asked him about it and he told me what was happening.  I thought it sounded pretty cool, so I set it up again on the full table and tried playing it solo with a few different rules sets before finally deciding that Blasters & Bulkheads best captured the feel and pacing I was looking for.  (I also wanted to make sure it was a playable scenario before playing it with my son so as not to waste our time or get him frustrated.)

Here's how it went down:  (if you click on the pictures, they will magically enlarge.)

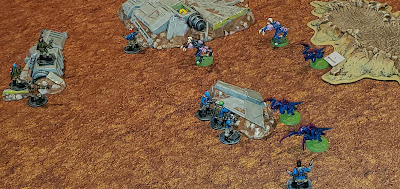
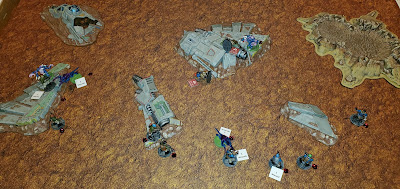
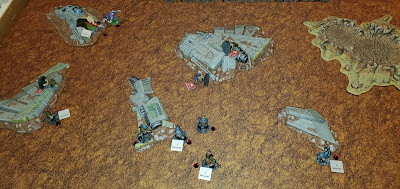
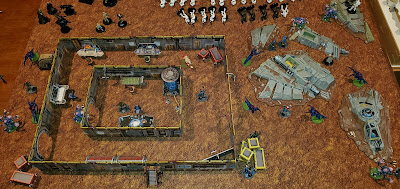
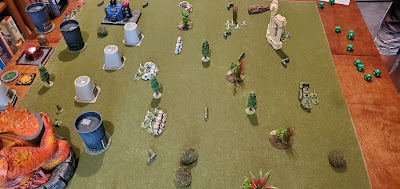
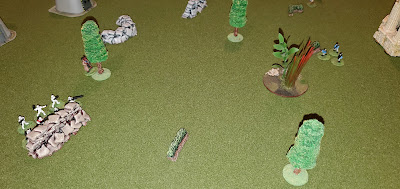
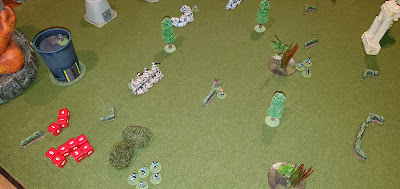
Here's the layout:  two 5-man squads (identical to each other because I'm lazy) enter the table at the bottom of the frame.  Their goal:  reach the inside of the building to activate the base defense weaponry that will eradicate the alien infestation.  The Aliens are coming from the craters, which must be wormlike holes leading underground somewhere.


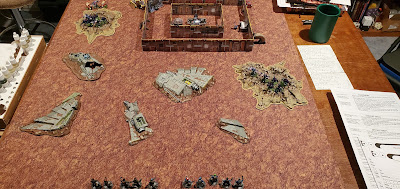
At the end of the first turn, a few Aliens have been wounded by long-range shooting.

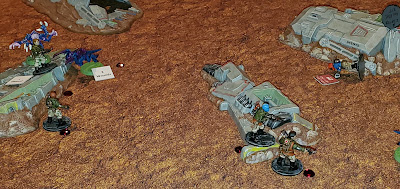
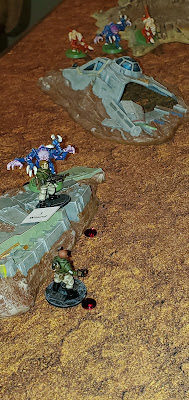
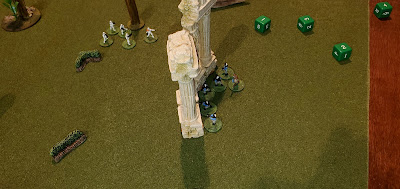
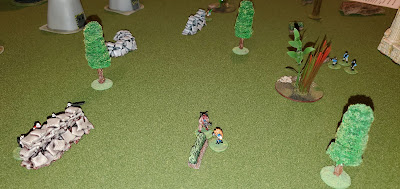
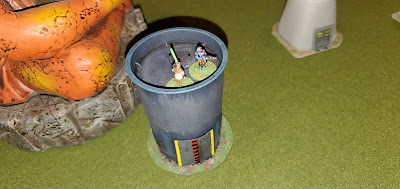
Dramatic Close-up #1.

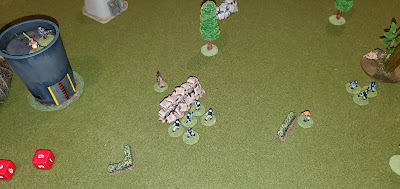
Dramatic Close-up #2.

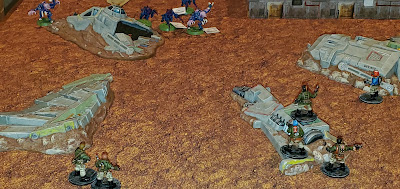
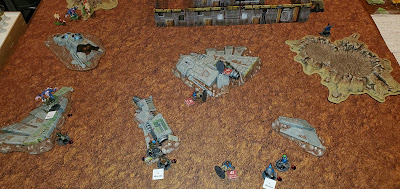
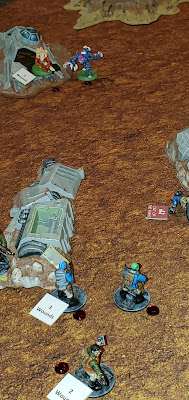
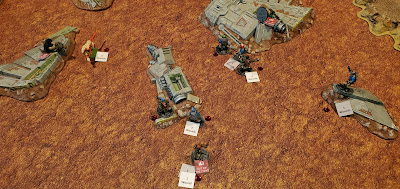
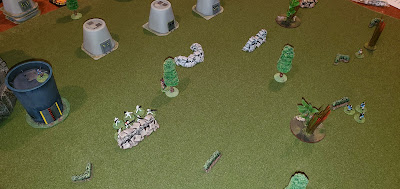
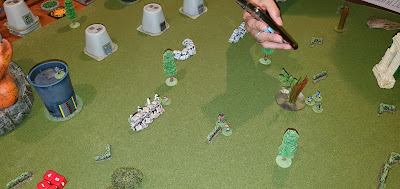
The state of battle at the end of Turn 2.  The little red bead markers are simply to identify which model has already activated.  With so many on the table, and sometimes hours between turns, it's easy to forget who went and who didn't!

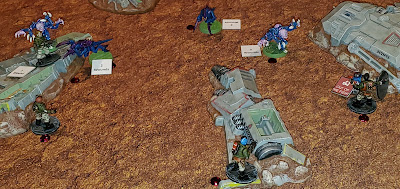
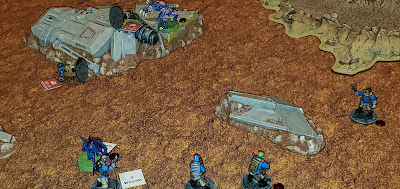
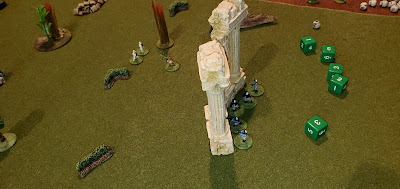
Dramatic Close-up #3.  The "Out of the Fight" marker is actually a K.O. marker.  Crucially, the Aliens have made it into close combat, where they excel, especially the four-armed monsters.

Dramatic Close-up #4.

Turn 3 ends.  One more soldier is K.O.ed, with more tied up in melee.  Several Aliens have been dispatched!  Little by little, the firepower is winning out.

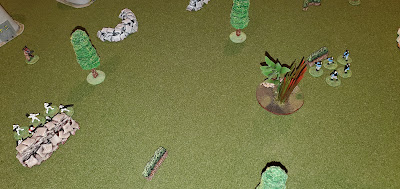
Dramatic Close-up #5.

Dramatic Close-up #6.

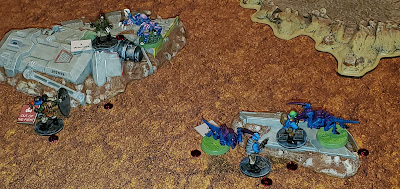
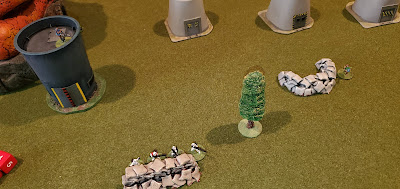
End of Turn 4.  Another soldier goes K.O., but one is making his way to the building, finally (upper right in the image).

Dramatic close-up #7!  The two new Aliens have ranged weapons.  Uh oh!

End of Turn 5.  Another man is down, but one is back up after a successful medi-kit usage (might not be exactly per the rules, but it felt right).

Dramatic close-up #8.

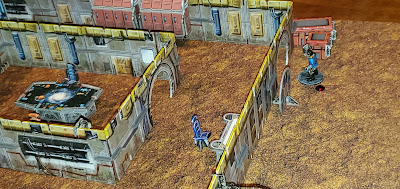
The soldier desperately activated the door to rush inside.

End of Turn 6.  Another man is back up, thanks to the last medi-kit, and a second is K.O.ed but he passes his K.O. check and therefore remained standing (wobbly, no doubt) [he's the one at the bottom of the image] and only one Alien remains...

...who is promptly "taken care of" when the lone soldier punches the defense weaponry button.  Yay!  "A day late and a dollar short," but better late than never.

The final tally:  2 K.O.ed, 3 more K.O.ed but either healed or passed their K.O. check.  5 of 10 potentially dead.  I'd say that was about the right balance.

If anyone is interested, I can post the stats of the soldiers and the Aliens that I used from Blasters & Bulkheads.  I sort of winged it, though, and they all could probably use some tweaking.

Anyway, thanks for reading!

Wednesday, August 3, 2022

92. Blasters & Bulkheads yet again!

I played a second game with my son.  The first is reported here.  This was again a scenario of his devising.  I kind of like him coming up with the ideas.  It makes it fresh for me, good practice for him, and fun for both of us.

As before, the Jedi were the attackers, but it was not a straight grab-the-MacGuffin objective.  Apparently, the Empire has hired a rather evil bounty hunter, in the form of the blue female Twi'lek Leeloo (who, as I created her character, is more of a shooter than purely a bounty hunter, but it really doesn't matter).  She was reportedly worshiping at her evil monster shrine and had just sacrificed a poor, defenseless Rebel trooper to her dark god, when the Good Guys show up (consisting of the Jedi Zar Bee, his Bounty Hunter Fofa Bett and a squad of Rebel troopers).  To protect her, she had two squads of Stormtroopers and her big red friend Murg the Devaronian (a melee specialist).  These are the same characters I've been using for every game so far, but we/I haven't been using the campaign rules yet, so each game is standalone.

Here are some pictures snapped with my phone during the game.  I remembered to take a few more than the previous game.

This is the lay of the table.  The monstrous evil shrine with the sacrifice is at the bottom left, while the Jedi and friends enter from screen right.

The first Stormtrooper squad advances, but doesn't have line of sight to the Rebels.

The Jedi swoops into the middle of the squad and cuts down three of the Stormtroopers!

Over on the left, Murg starts moving closer, and the Stormtroopers...

...are able to pick off a couple of Rebels!  Hooray for the Bad Guys!

Meanwhile, Leeloo used the free time to climb to the top of the nearby bunker, where (she hoped) she could pick off the enemy with her blaster rifle.

Murg and Fofa Bett met in the center of the battlefield.  Their confrontation resulted in a stalemate.  At the top of the picture, Zar Bee edges his way closer, utilizing cover when he can.  The Rebels' shooting has eliminated many more Stormtroopers, too, despite them having good cover.  Dice rolls, man!

Zar Bee runs closer still.  Leeloo does shoot at him, both now and in the previous photo, but he deflects it both times.

An overview of the situation, mid-game.

Zar Bee, instead of heading directly for the bunker with Leeloo in it to capture her, decides to take out the few remaining Stormtroopers, while Murg and Fofa Bett continue to slug it out, ineffectively.  I shouldn't say, "Ineffectively."  They have actually wounded each other, but not enough to K.O. them.

Zar Bee easily dispatches the Stormtroopers, and the 5-man Rebel squad takes position behind Murg.  Murg, wounded and realizing he's in trouble as well as is Leeloo, whom he is supposed to be protecting, withdraws from Melee...

...but it's too late, as Zar Bee Force-jumps to the top of the bunker and confronts Leeloo in person!

Murg runs as fast as he can, taking a hit from Fofa Bett as he leaves...

...but, again, it is too late.  Zar Bee easily K.O.'s Leeloo (many, many Fate dice were rolled to attempt to stop him, but to no avail).

And so, we called the game at that point.  Was it a balanced scenario?  Not really.  Did we have fun?  Yes.  I think the Bad Guys were at a disadvantage by facing a Jedi without having their Sith available.  Although, I really thought Murg, who is usually a murder-machine, would do much better against Fofa Bett, but a series of poor dice rolls on my part, combined with good rolls on my son's part, stymied his chances.  If he had managed to dispatch the Bounty Hunter sooner, Murg might have been able to get to the top of the bunker in time to assist in the melee against Zar Bee.  But alas, I stuck him around too long, hoping he could prevail in his own fight.  As it was, he survived with only one life point remaining, while Fofa Bett had four (out of six)!

Thanks for reading!

Thursday, July 28, 2022

91. Blasters & Bulkheads yet again, but not solo!

I played a non-solo Star Wars game with my 12 year old son.  He set up the table and designed the scenario.  I'm afraid I didn't take enough pictures, because I was "living in the moment," but when I mentioned that I would need to write a blog about our game, he suddenly started reminding me to take pictures!

The scenario was:  he was the attacking Jedi with Rebel henchmen, and I was the defending Sith with Stormtroopers.  He wanted to steal the glowy macguffin and I wanted to stop him.  However, the hitch in his idea was that I started the game with two squads of Stormtroopers on the table and no Characters, while he got all of his, and he wanted to do a sneak mission.  Wellll, the game and the rules don't really lend themselves to sneaking (I mean, it's a combat game) but they do have rules for hiding, so we used those until my Stormtroopers spotted his men and sounded the alarm.

My son doesn't have a ton of experience playing these types of games (my own fault, I know, and I'm trying to rectify that) but it's interesting watching him develop the tactical thinking necessary to Play-A-Game, rather than just play with some miniature figures and go "pew pew pew."  As the game progressed I could see a few points at which, if I hadn't "taken one for the team" he might have gotten a little more down than I wanted.  Don't get me wrong, he's not a sulker, or one to throw a tantrum and give up, but I didn't want to just smash him on his first outing on a new rule-set he'd never played before.  That doesn't lend itself well to repeat play, which is what I want.

Anyway, here are a few pictures taken from my phone.  These are all the same 15mm figures that I've shown in my previous posts.

This is several turns into the game.  The glowy macguffin is the red Lego piece on the pentagram.  Also, my Stormtrooper squad has been decimated by rather accurate blaster fire, which you can see where it came from in the next picture.

Five of his Rebels absolutely mowed down my Stormtroopers with crazy-accurate shooting, but after that he was "scared" to advance.  I kept telling him, you have to go get the thing, you can't just kill everyone and not go get it!  This is what I'm talking about, watching him learn to think tactically.

Part of his scenario was for my main characters to arrive after the alarm had been sounded.  After he wiped out both of my Stormtrooper squads, I figured the alarm had been sounded.  We decided that my characters and one squad of Troopers would arrive via a roll of the die:  I numbered the buildings that you can see here 1, 2, 3, 4, and the far table edge was 5, and 6 was roll again.  I rolled a 5.  So this photo is of a few turns after they came in on the far table edge.  Meanwhile, he had only just now gotten his Jedi in contact with the macguffin.

A few more turns have passed, and I knew the only one who could catch his Jedi (with his Force-speed) was my Sith, and even then he would only be able to stay even with him.  So my Sith used a Force-pull and snatched the macguffin out of the Jedi's hands, and then he was going to run away, but this is where I "took a dive."  I knew that no one on his side could catch my Sith (because he had been so hesitant to advance anyone, most of his Rebels were still in their original positions), so instead of running away, my Sith decided to be reckless (hey, it's a Sith trait!) and stood his ground to destroy the pathetic Jedi.  (Yes, there was a lot of fun smack-talk at the table!)

Here is the aftermath of my decision.  His Jedi legitimately (and fairly) K.O.'ed my Sith, getting the macguffin back.  I had one last chance, and I decided to let the dice fall where they may.  He was O.K. with it, too.

My last chance was for my brute of a close combat monster to charge into melee and kill the Jedi.  I was actually pretty worried I would win, but like I said, he was O.K. with the chance.  He was definitely getting into the spirit of the game by this point.

As a side-bar, some of his Rebels were finally moving closer, and my Droid had scared off his other gunman character.

This is simply a close-up of the dramatic final confrontation.  Who will win?

Well, if you haven't figured it out from all the clues I've given so far, you're not paying attention.  His Jedi won in melee (again, legitimately; I rolled so poorly) and then took off running at super-speed, and we called the game.  He was happy he won, and I was happy he played.

There were a few rules questions that came up, mainly because I had never used them in my solo games; such as hiding, and certain Force powers.  One House Rule we used was that both Jedi and Sith could use any of the Force powers listed in the book, so long as they had sufficient Essence/Fate dice to power it.  This greatly broadened the abilities of the characters without, in my opinion, too greatly weakening the system.

Thanks for reading!
Tuesday, July 12, 2022

90. Star Wars-ian Adventures with "Blasters & Bulkheads"

I'm still feeling my way with the rules, so here's a quick game I solo-ed the other day.  This was my first foray using the Henchmen rules, to accommodate my new Stormtroopers and Rebels.  I'm sorry about the picture quality, I've been using my phone because it's so much easier than the old camera (had to take the card out and upload separately compared to just digitally moving files now), but unfortunately the phone just doesn't do as good a job.  I have a ton of light on the table, but it still needs the flash to give it good color; except the flash is too harsh.  I'll keep playing with it and hopefully get better.

The pics should enlarge if you click on them, but I expect you knew that already!

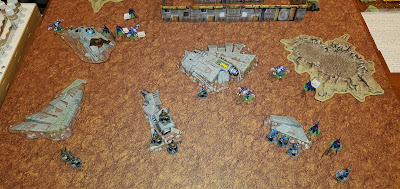
This is the table setup:  the Empire forces are guarding a glowing yellow ball of energy or something, and the Jedi and Rebels want it.

I'm still pleased with how the Stormtroopers turned out.

The Rebels moved up, and my Bounty Hunter and Jedi did as well.

No shooting had yet occurred.  The Bounty Hunter jet-packed to the right, attempting to circle around behind the Empire troops.

The Jedi said, "I don't have time for this," and charged into melee, wielding his deadly lightsaber...

...and promptly polished off four Stormtroopers!

Everyone is, like, "whoa, Henchmen die easily!"

Undeterred, the Stormtroopers fire, not at the Jedi, but at the Rebels, killing three.  (Again, I just was figuring out henchmen stuff.)

The Empire troops backed up a little.  (This is an example of my phone camera without the flash.  The table cloth surface is green, like in the other photos.)

The Bounty Hunter jets in, shoots, and misses.

The Rebels advance, shoot and miss.

The Bounty Hunter shoots again...

...and hits two.  The three remaining Stormtroopers fire at the Jedi, hoping for good luck.

There was good luck, but it was all on the Jedi's side.  He uses his "deflect" Force power, and rolls 8 goals vs 2.  I took a little liberty with the rules (maybe) and argued with myself that since he deflected three shots (even though Henchmen only really fire as "one") that that was more than enough goals to justify re-directing them all back at the shooters...

...all of whom were K.O.ed.

That's all.  Just a quick, fun little excursion into Henchman-land.  Did I do it wrong?  Doesn't matter, it's solo, I can play how I like (but I do like to play by the rules; sometimes they're vague on certain details).

Thanks for reading.