I've been playing around with Battlesystems' cardstock terrain recently, originally to play Space Station Zero. In fact, I should probably make a blog post about SSZ before this one, but too late now. In order to play SSZ, my son and I had been using any old figures I had (some Star Wars pre-paints, some Necromunda), but I wanted something specific so I bought some Stargrave miniatures and painted them up for us to play with. Which we did for a while, using Battlesystems' terrain. (Come to think of it, I don't think I've shown the Stargrave miniatures I painted up. They're pretty cool, I'll have to post them soon.)
Then I came home from work one day to find my son had set up the arrangement below, to play out one of his "stories."
I asked him about it and he told me what was happening. I thought it sounded pretty cool, so I set it up again on the full table and tried playing it solo with a few different rules sets before finally deciding that Blasters & Bulkheads best captured the feel and pacing I was looking for. (I also wanted to make sure it was a playable scenario before playing it with my son so as not to waste our time or get him frustrated.) Here's how it went down: (if you click on the pictures, they will magically enlarge.)
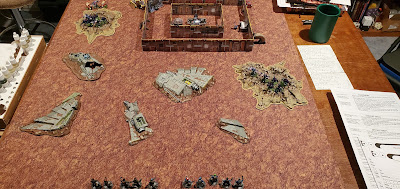 |
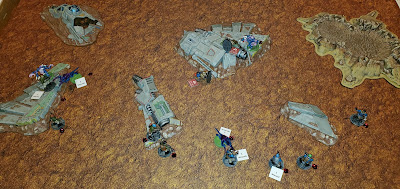
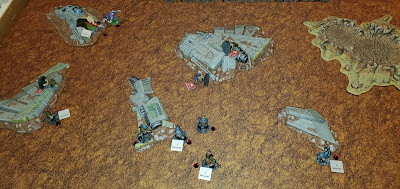
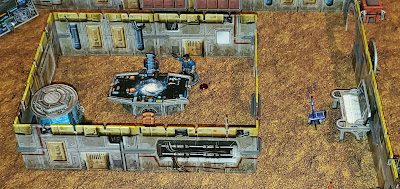
| Here's the layout: two 5-man squads (identical to each other because I'm lazy) enter the table at the bottom of the frame. Their goal: reach the inside of the building to activate the base defense weaponry that will eradicate the alien infestation. The Aliens are coming from the craters, which must be wormlike holes leading underground somewhere. |
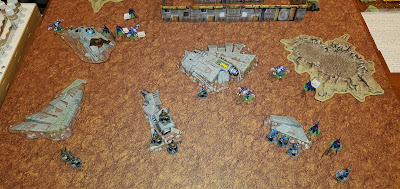 |
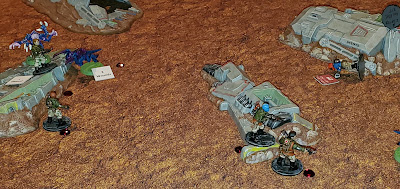
| At the end of the first turn, a few Aliens have been wounded by long-range shooting. |
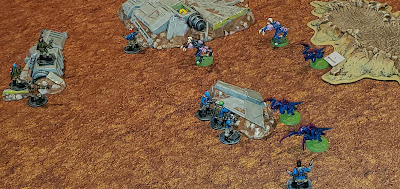 |
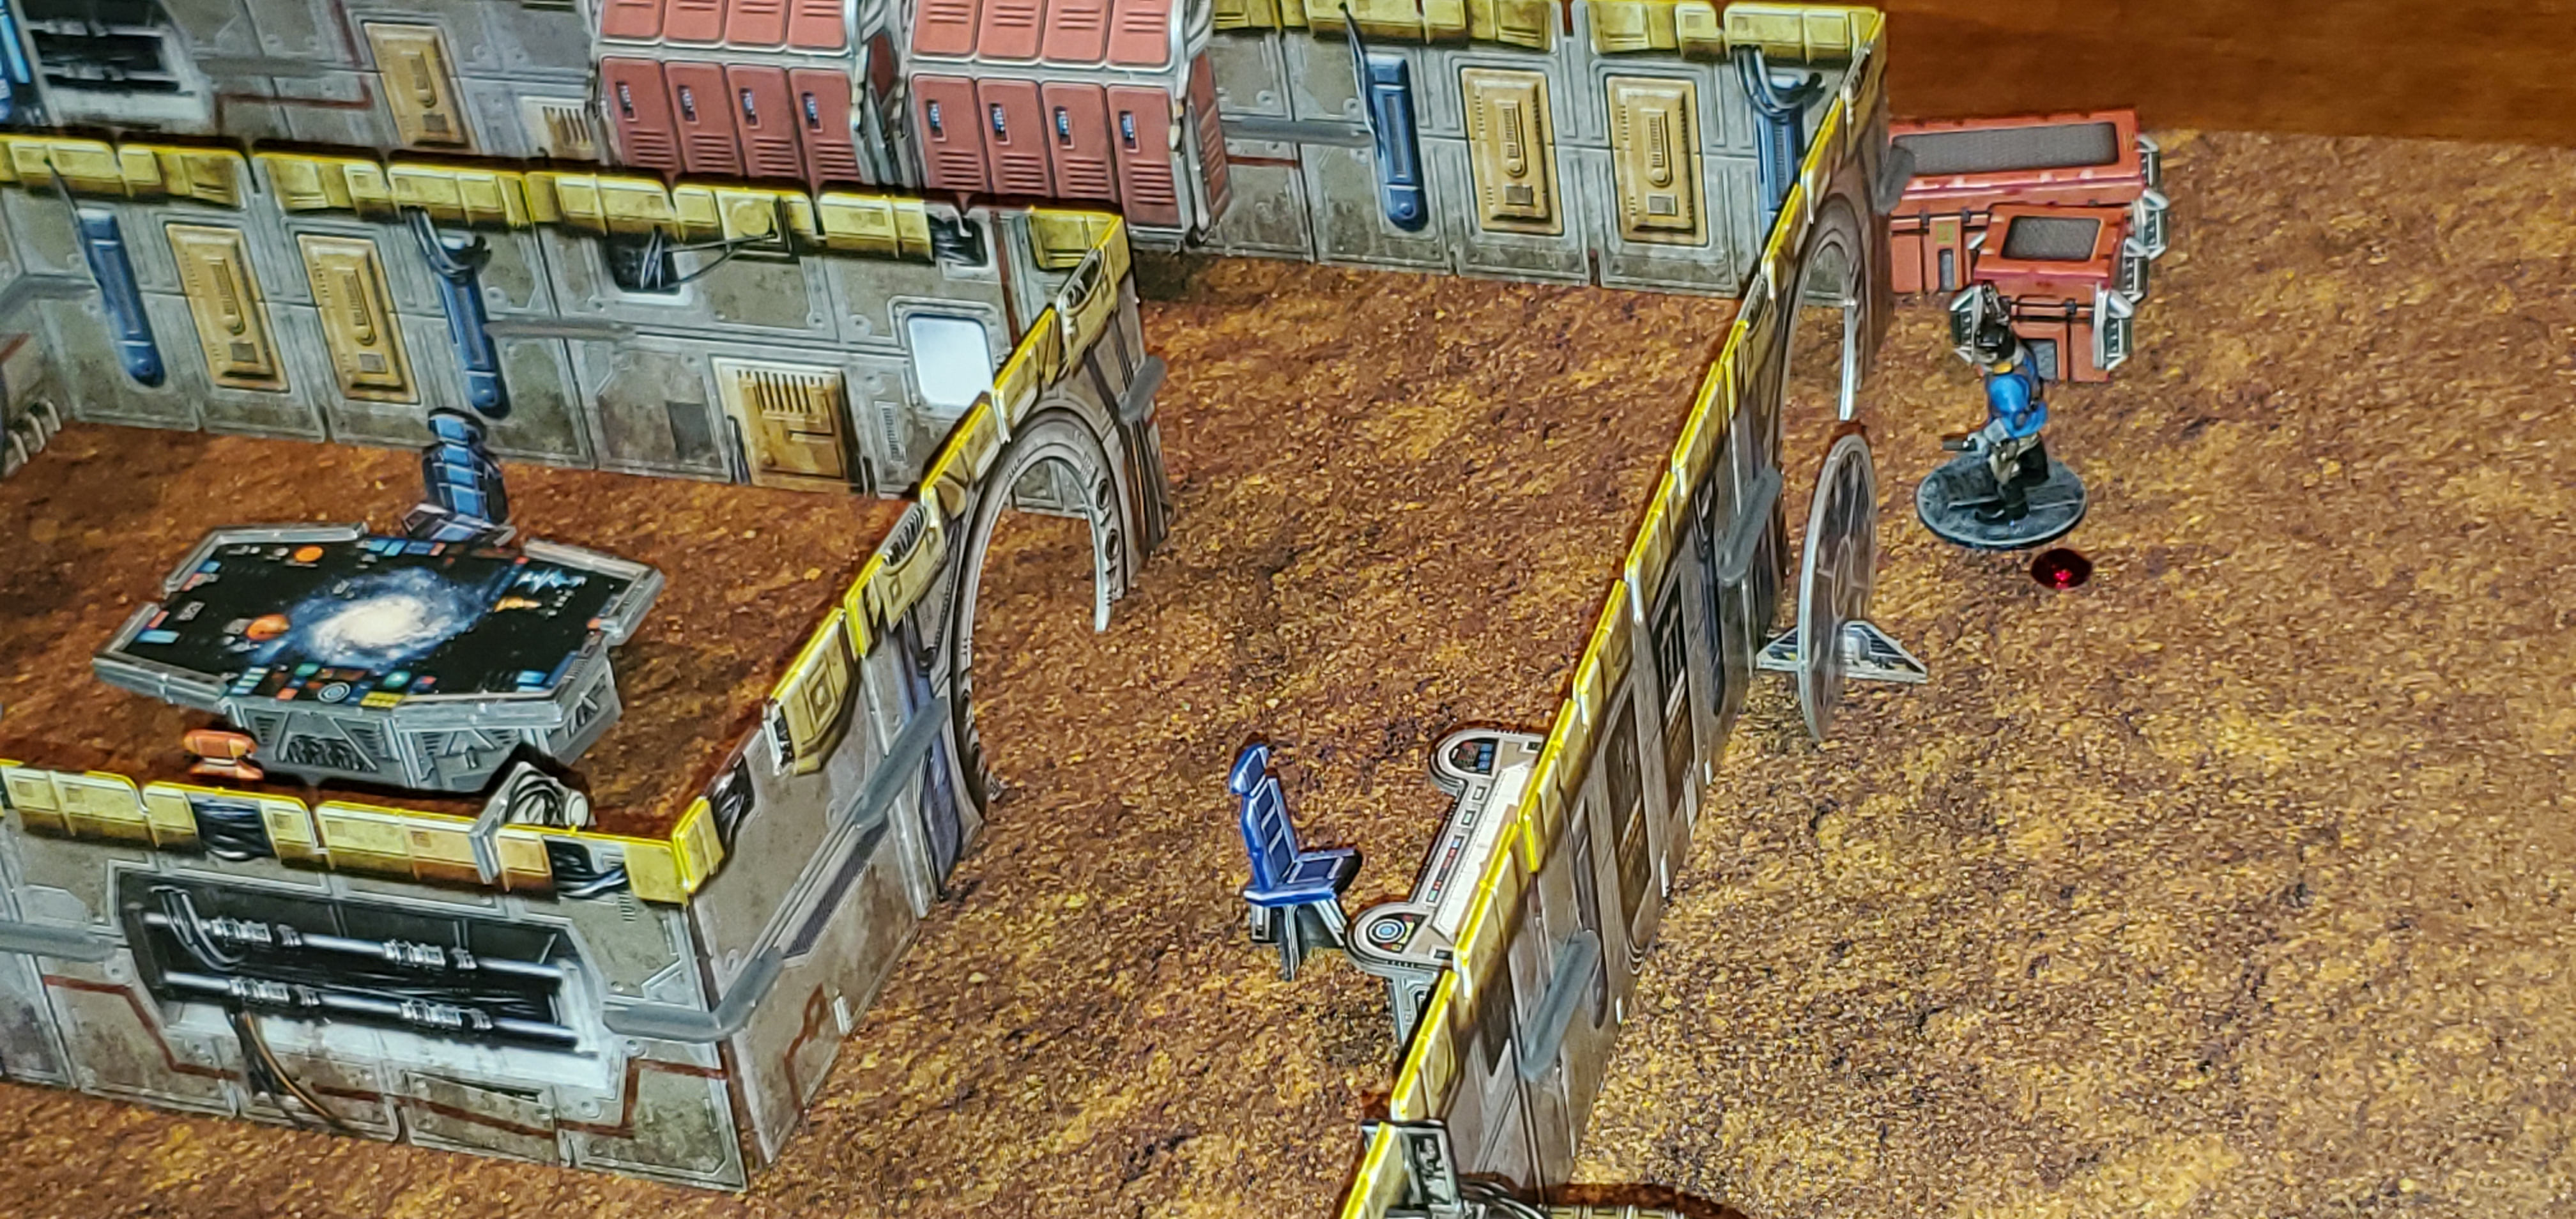
| Dramatic Close-up #1. |
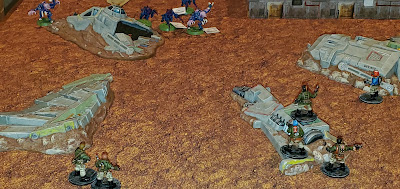 |
| Dramatic Close-up #2. |
 |
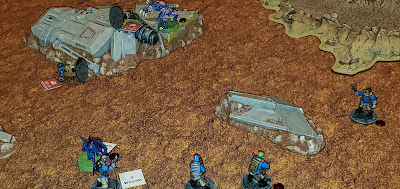
| The state of battle at the end of Turn 2. The little red bead markers are simply to identify which model has already activated. With so many on the table, and sometimes hours between turns, it's easy to forget who went and who didn't! |
 |
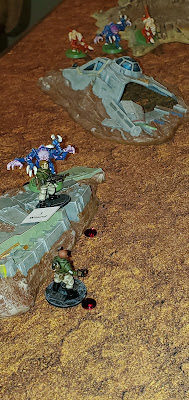
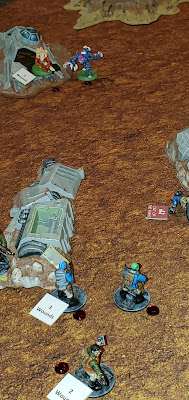
| Dramatic Close-up #3. The "Out of the Fight" marker is actually a K.O. marker. Crucially, the Aliens have made it into close combat, where they excel, especially the four-armed monsters. |
 |
| Dramatic Close-up #4. |
 |
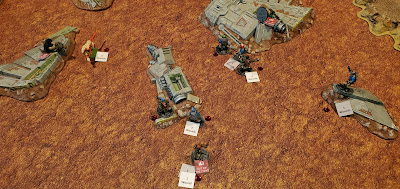
| Turn 3 ends. One more soldier is K.O.ed, with more tied up in melee. Several Aliens have been dispatched! Little by little, the firepower is winning out. |
 |
| Dramatic Close-up #5. |
 |
| Dramatic Close-up #6. |
 |
| End of Turn 4. Another soldier goes K.O., but one is making his way to the building, finally (upper right in the image). |
 |
| Dramatic close-up #7! The two new Aliens have ranged weapons. Uh oh! |
 |
| End of Turn 5. Another man is down, but one is back up after a successful medi-kit usage (might not be exactly per the rules, but it felt right). |
 |
| Dramatic close-up #8. |
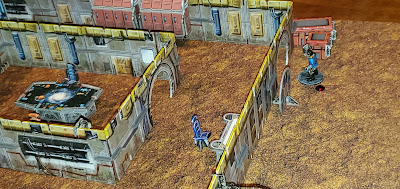 |
| The soldier desperately activated the door to rush inside. |
 |
| End of Turn 6. Another man is back up, thanks to the last medi-kit, and a second is K.O.ed but he passes his K.O. check and therefore remained standing (wobbly, no doubt) [he's the one at the bottom of the image] and only one Alien remains... |
 |
...who is promptly "taken care of" when the lone soldier punches the defense weaponry button. Yay! "A day late and a dollar short," but better late than never.
|
 |
| The final tally: 2 K.O.ed, 3 more K.O.ed but either healed or passed their K.O. check. 5 of 10 potentially dead. I'd say that was about the right balance. |
If anyone is interested, I can post the stats of the soldiers and the Aliens that I used from Blasters & Bulkheads. I sort of winged it, though, and they all could probably use some tweaking.
Anyway, thanks for reading!


I did play this same scenario again with my son, in nearly the identical setup. We survived and won, with only two K.O.'s and no deaths. He felt it was pretty tense with good tactical decisions needing to be made.
ReplyDelete